
When I first started experimenting with DIY skincare, aloe vera gel was one of the first things I tried to make at home. I remember standing in my kitchen, staring at a fresh aloe leaf, wondering how something so simple could be so powerful.
Fast forward to today, and I’ve made countless batches of aloe vera gel, each one better than the last.
Whether you’re looking to soothe sunburns, hydrate your skin, or create your own natural skincare products, making aloe vera gel at home is easier than you think.
Let me walk you through the process, share some thickening tips, and even show you how to turn it into a luxurious homemade moisturizer.

Why Make Aloe Vera Gel at Home?
I used to buy aloe vera gel from the store, but I quickly realized that many commercial products are filled with additives, preservatives, and artificial ingredients.
When I started making my own, I was amazed at how pure and effective it was.
Plus, it’s incredibly cost-effective! One aloe plant can provide you with months of fresh gel, and you can customize it to suit your skin’s needs.
How to Make Aloe Vera Gel at Home (DIY Aloe Vera Gel)
What You’ll Need:
– Fresh aloe vera leaves (or store-bought if you don’t have a plant)
– A sharp knife
– A spoon or spatula
– A blender (optional)
– A clean container for storage
Read: Aloe vera after shaving
Step-by-Step Instructions:
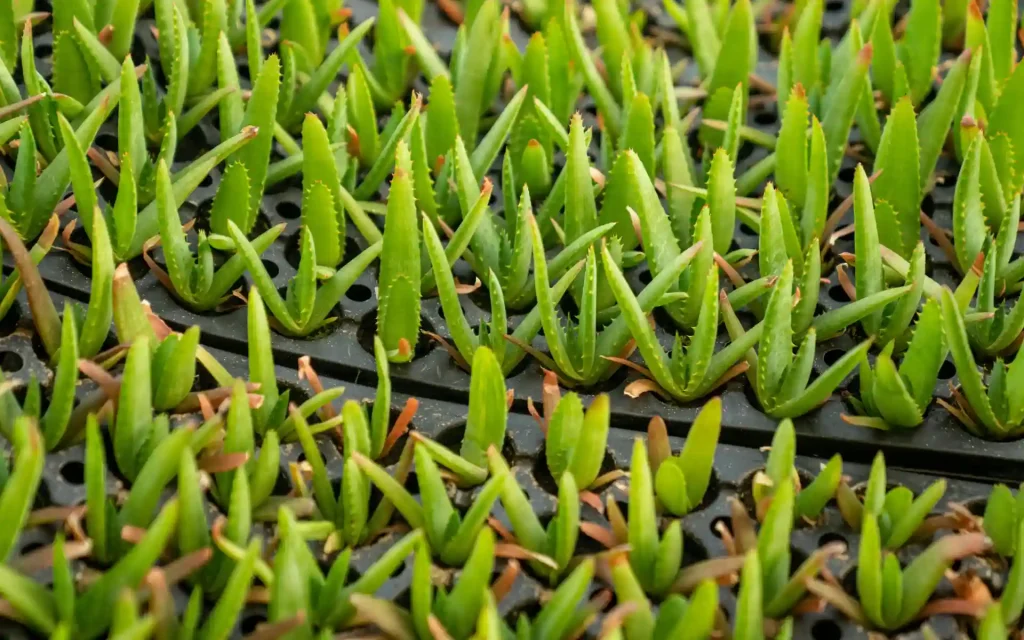
1. Choose the Right Leaf
When I harvest aloe vera, I always go for the thick, mature leaves from the outer part of the plant. These leaves are packed with gel and are easier to work with.
2. Wash the Leaf
Rinse the leaf under cool water to remove any dirt or debris. Trust me, you don’t want any impurities in your gel.
3. Cut the Leaf
Using a sharp knife, cut the leaf off at the base. Then, slice off the serrated edges on both sides.
4. Extract the Gel
– Spoon Method: Lay the leaf flat on a cutting board and use a spoon to scoop out the clear gel. Be careful to avoid the yellowish latex near the skin—it can irritate your skin.
– Blender Method: Cut the leaf into smaller sections and blend until smooth. This method is great if you’re making a larger batch.
5. Strain (Optional)
If you prefer a smoother consistency, strain the gel through a fine mesh sieve or cheesecloth.
6. Store the Gel
Transfer the gel to a clean container. It will last about a week in the fridge, or you can freeze it in ice cube trays for longer storage.
How to Make Aloe Vera Gel Thick
One of the challenges I faced early on was getting my aloe vera gel to the right consistency. Store-bought gels are often thickened with additives, but you can achieve a similar texture naturally. Here’s how:
1. Use Xanthan Gum.
Mix a small amount of xanthan gum (about 1% of the total weight of your gel) with glycerin until it forms a gel-like consistency. Then, combine it with your aloe vera gel. This trick works wonders!
2. Add Vitamin E or C.
Not only do these vitamins act as natural preservatives, but they also help thicken the gel. I usually add 500 mg of powdered vitamin C or a few drops of vitamin E oil to every 1/4 cup of gel.
3. Blend Less Water
If you’re using the blender method, avoid adding too much water. The less liquid you add, the thicker your gel will be.
Homemade Aloe Vera Moisturizer for Face
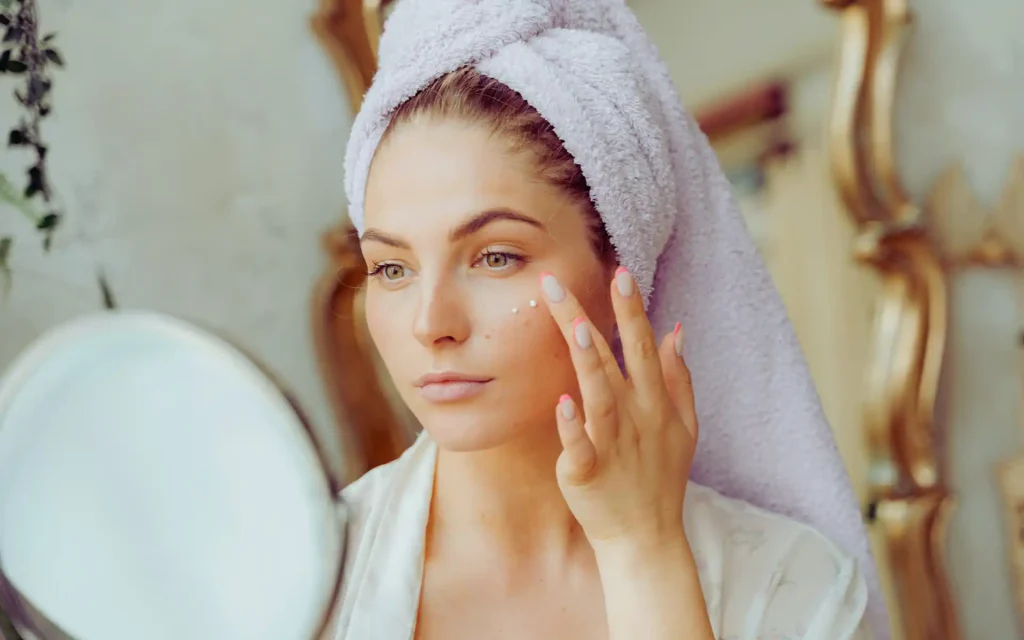
Once you’ve mastered making aloe vera gel, you can take it a step further by turning it into a nourishing moisturizer. Here’s my go-to recipe:
Ingredients:
– 1/4 cup aloe vera gel
– 1 tablespoon coconut oil
– 1/4 teaspoon vitamin E oil (optional)
– 1/8 teaspoon citric acid (optional, for preservation)
Instructions:
1. Melt the coconut oil if it’s solid.
2. Mix it with the aloe vera gel and other ingredients until well combined.
3. Store in a clean, airtight container.
This moisturizer is perfect for hydrating dry skin, soothing sunburns, and even reducing the appearance of fine lines. I use it every night before bed, and my skin has never felt better.
Read: The Ultimate Guide to Using Aloe Vera for Eye Health and Beauty
Homemade Face Cream with Aloe Vera and Shea Butter
If you’re looking for something richer, try this shea butter and aloe vera face cream. It’s incredibly moisturizing and works wonders for dry or sensitive skin.
Ingredients:
– 1/2 cup shea butter
– 1/4 cup coconut oil
– 2 tablespoons aloe vera gel
– 10-20 drops of essential oil (optional)
Instructions:
1. Melt the shea butter and coconut oil in a double boiler.
2. Let it cool slightly, then mix in the aloe vera gel and essential oils.
3. Pour into a jar and let it solidify.
This cream is my winter skincare savior. It’s thick, nourishing, and leaves my skin feeling soft and supple.
Final Thoughts
Making aloe vera gel at home has been a game-changer for me. Not only is it cost-effective, but it’s also incredibly versatile.
Whether you’re using it on its own or turning it into a moisturizer, the possibilities are endless.
Plus, there’s something incredibly satisfying about creating your own skincare products from scratch.
So, grab an aloe leaf and give it a try! Trust me, your skin will thank you.
Have you tried making aloe vera gel at home? Share your experiences and tips in the comments below!


